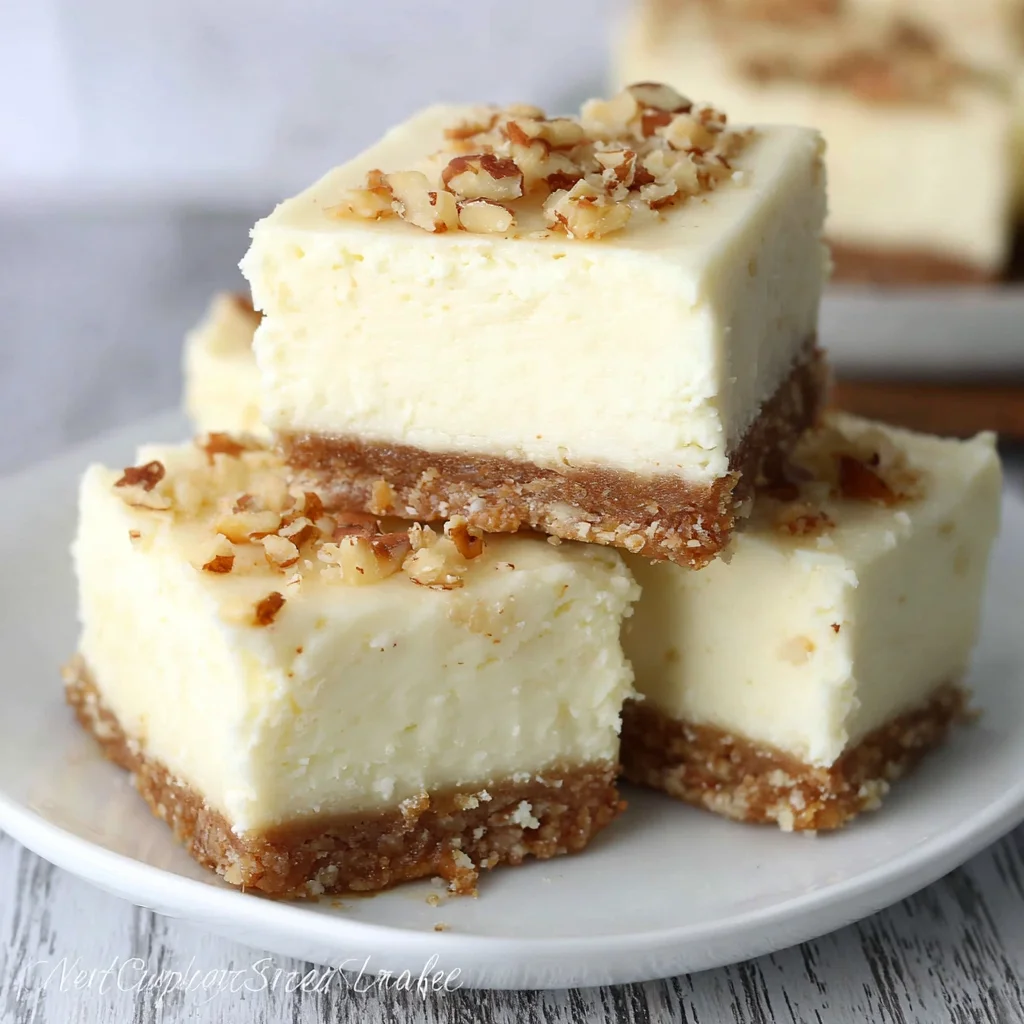
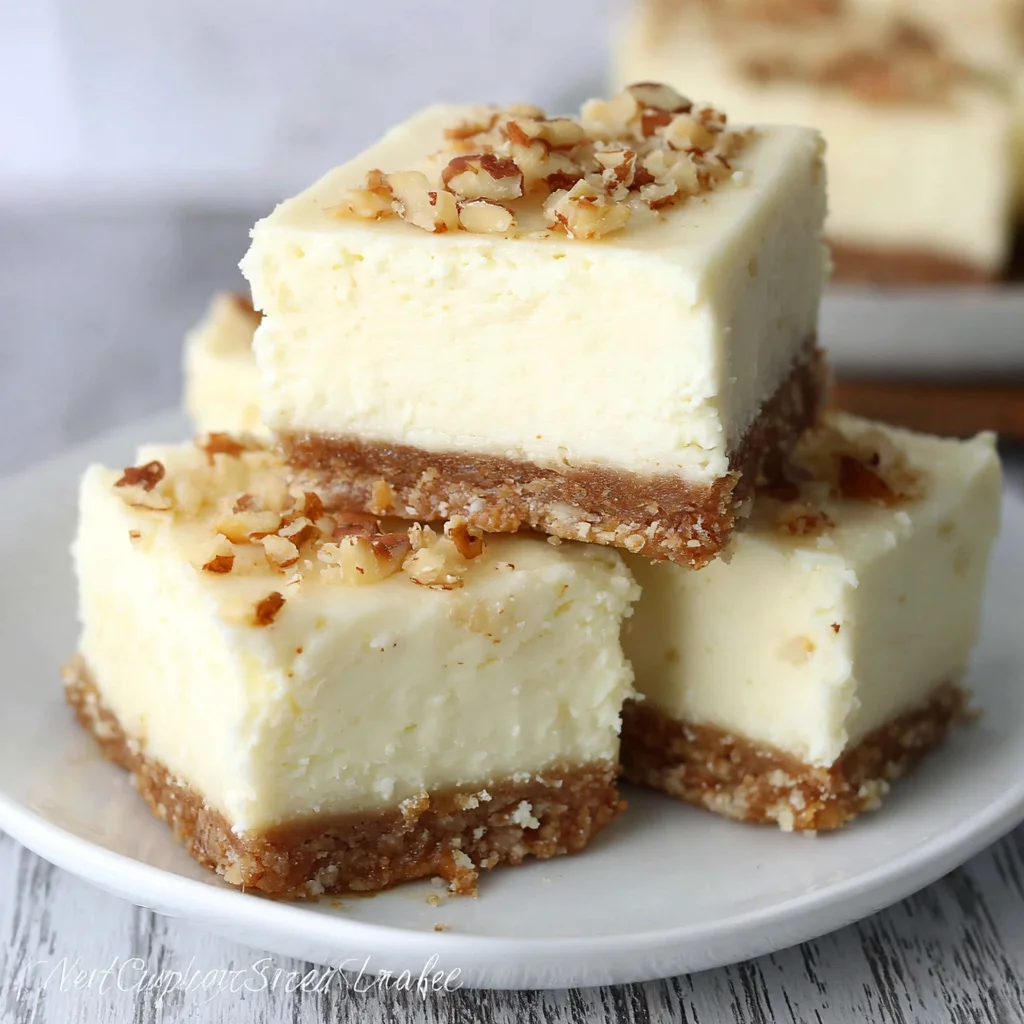
Indulge in the creamy, dreamy decadence of Cheesecake Fudge – a no-bake dessert that’s as easy to make as it is irresistible. This recipe perfectly blends the rich, smooth texture of classic cheesecake with the satisfying chewiness of fudge, creating a delightful treat that’s guaranteed to be a crowd-pleaser. Forget complicated baking techniques and lengthy preparation times; this recipe requires minimal effort and yields maximum deliciousness. Whether you’re a seasoned baker or a kitchen novice, this Cheesecake Fudge is a recipe you’ll want to master. Imagine sinking your teeth into a rich, creamy square, the cool cheesecake mingling perfectly with the intensely chocolatey fudge. This is the ultimate dessert for any occasion – from casual weeknight gatherings to elegant dinner parties. Prepare to be amazed by how simple yet impressive this no-bake marvel truly is. This recipe is a game-changer, promising a delightful experience that’s both easy and utterly rewarding. Get ready to elevate your dessert game with our foolproof Cheesecake Fudge recipe!
Why You’ll Love This Cheesecake Fudge Recipe
This Cheesecake Fudge recipe is a true culinary gem, boasting an array of qualities that make it a standout dessert. First and foremost, its simplicity is a major draw. Unlike many cheesecakes that require precise baking techniques and careful monitoring, this recipe is entirely no-bake. This means less stress, less mess, and more time to enjoy the delicious results. The speed of preparation is another significant advantage. From start to finish, you can whip up this luscious fudge in under 30 minutes, leaving you ample time to focus on other aspects of your event or simply relax. The rich and creamy texture is simply divine. The combination of cream cheese and condensed milk creates a luxuriously smooth base, which is then elevated by the intensely chocolatey fudge. This unique blend of textures makes each bite an unforgettable experience. This Cheesecake Fudge is also incredibly versatile. Feel free to experiment with different toppings, such as crushed nuts, sprinkles, or fresh berries, to customize the dessert to your liking. It’s also easily adaptable for dietary needs; see our tips and variations section for ideas! Finally, this recipe offers unparalleled convenience. It can be made ahead of time, making it ideal for busy schedules and large gatherings. Simply prepare it a day or two in advance, refrigerate, and serve when ready. It’s the perfect make-ahead dessert for potlucks, parties, or holidays.
Why You Should Try This Cheesecake Fudge Recipe
Beyond its ease and deliciousness, this Cheesecake Fudge recipe offers a plethora of compelling reasons to give it a try. It’s the perfect answer for those seeking a showstopping dessert without the fuss. It’s a guaranteed crowd-pleaser, impressing even the most discerning palates. Its elegant appearance belies its remarkably simple preparation, making it a cost-effective option for entertaining. The recipe provides a fantastic opportunity for creative expression. Feel free to personalize the fudge by adding your favorite mix-ins or garnishes. It’s a wonderful way to showcase your culinary skills without spending hours in the kitchen. This Cheesecake Fudge is also a great recipe for beginners. The straightforward steps and minimal equipment needed make it an ideal project for those new to baking or cooking. Moreover, the recipe’s success rate is incredibly high, offering a satisfying culinary experience for all skill levels. It’s the perfect recipe to boost confidence in the kitchen. This Cheesecake Fudge is a fantastic way to share your love of delicious food with friends and family. It’s the ideal dessert to make for special occasions or simply to treat yourself and loved ones. Sharing this treat is an act of love and deliciousness.
Ingredients and Necessary Utensils for Cheesecake Fudge
Gathering the right ingredients and tools is crucial for successful Cheesecake Fudge. Let’s delve into the details:
Detailed List of Ingredients:
- 1 (14 ounce) package cream cheese, softened: Softened cream cheese is key for a smooth, creamy texture. Let it sit at room temperature for about an hour before starting. Using full-fat cream cheese enhances the richness. Look for brands like Philadelphia or similar quality. Check out more recipes using cream cheese here!
- 1 (14 ounce) can sweetened condensed milk: This adds sweetness and creamy texture. Ensure you’re using sweetened condensed milk, not evaporated milk. The sweetness level of the condensed milk helps balance the cream cheese and chocolate.
- 1 (12 ounce) package semi-sweet chocolate chips: This is the star of the fudge! Semi-sweet chocolate provides the perfect balance of sweetness and bitterness. You can experiment with milk chocolate or dark chocolate chips, but semi-sweet offers the most balanced flavor profile.
- 1/2 cup butter, melted: Melted butter adds richness and helps create a smooth, glossy fudge. Unsalted butter is preferred, allowing you to control the sweetness. Ensure it’s completely melted before adding it to the chocolate.
- 1 teaspoon vanilla extract: A touch of vanilla enhances the overall flavor. Use pure vanilla extract for the best results.
- 1/2 cup graham cracker crumbs (optional, for topping): These add a delightful crunch and contrast to the creamy fudge. If you choose to use them, crush your graham crackers finely before sprinkling them over the top.
Recommended Tools and Utensils:
- Large bowl: For combining the cream cheese and sweetened condensed milk. A glass or stainless steel bowl works best.
- Hand mixer or stand mixer: A hand mixer is ideal for beating the cream cheese and condensed milk until smooth and creamy. A stand mixer can also be used.
- Microwave-safe bowl or double boiler: For melting the chocolate chips and butter. A microwave provides a quicker melting method, but a double boiler ensures a gentler and more controlled melt.
- Rubber spatula or wooden spoon: For gently stirring the ingredients together. A rubber spatula is great for scraping down the sides of the bowl.
- 8×8 inch baking pan: To set the fudge. Line the pan with parchment paper for easy removal.
- Parchment paper: Essential for lining the baking pan. This prevents sticking and makes it easier to remove the fudge.
- Measuring cups and spoons: For accurate measurements.
- Knife or spatula: For cutting the fudge into squares.
Detailed Recipe Steps for Cheesecake Fudge
Follow these step-by-step instructions to create the perfect Cheesecake Fudge:
Step 1: Combining Cream Cheese and Condensed Milk
In your large bowl, add the softened cream cheese and sweetened condensed milk. Using your hand mixer (or stand mixer), beat the mixture on medium speed until it’s completely smooth and creamy. This is crucial for a smooth final product. Scrape down the sides of the bowl as needed. Beat for about 2-3 minutes, until light and fluffy.
Step 2: Melting Chocolate and Butter
In a separate microwave-safe bowl, combine the chocolate chips and melted butter. Microwave in 30-second intervals, stirring after each, until the chocolate is completely melted and smooth. **Avoid overheating, as this can scorch the chocolate.** Alternatively, you can melt the chocolate and butter in a double boiler. Place the chocolate and butter in a heatproof bowl set over a saucepan of simmering water. Stir gently until completely melted and smooth. This method ensures a smoother melt and prevents seizing.
Step 3: Combining Wet Ingredients
Gently pour the melted chocolate mixture into the cream cheese mixture. Stir gently with a rubber spatula or wooden spoon until everything is well combined and the fudge is a uniform color. Be careful not to overmix, as this can incorporate too much air and make the fudge less dense. A few streaks of chocolate are acceptable; don’t strive for perfect uniformity.
Step 4: Adding Vanilla
Stir in the vanilla extract. Mix until it’s evenly distributed throughout the fudge. The vanilla adds a subtle warmth and complexity to the flavor profile.
Step 5: Pouring into Pan
Line your 8×8 inch baking pan with parchment paper, ensuring there is an overhang on the sides. This makes lifting the fudge out much easier. Pour the fudge mixture into the prepared pan and spread it evenly.
Step 6: Optional Topping
If desired, sprinkle the graham cracker crumbs evenly over the top of the fudge. This step is optional but adds a nice textural element.
Step 7: Chilling
Refrigerate the fudge for at least 4 hours, or preferably overnight, to allow it to firm up completely. The longer it chills, the firmer it will become. Patience is key here for a perfect texture.
Step 8: Cutting and Serving
Once the fudge is firm, lift it out of the pan using the parchment paper overhang. Cut into squares and serve. Enjoy your delicious homemade Cheesecake Fudge! For extra-clean cuts, use a sharp knife dipped in warm water and wiped dry between cuts.
Tips and Variations for Cheesecake Fudge
Experiment with these tips and variations to customize your Cheesecake Fudge:
- Chocolate Variations: Try using dark chocolate, milk chocolate, or even white chocolate chips for a unique flavor twist. A blend of different chocolates can also be delicious.
- Flavor Boosters: Add a pinch of salt, espresso powder, or orange zest to the fudge for added complexity.
- Mix-ins: Incorporate chopped nuts, pretzels, or dried fruit into the fudge before chilling.
- Toppings: Get creative with toppings! Sprinkle with cocoa powder, chopped nuts, chocolate shavings, or even fresh berries.
- Vegan Version: Substitute the cream cheese with a vegan cream cheese alternative and use vegan butter.
- Gluten-Free Option: Ensure your graham crackers are gluten-free if you’re using them as a topping.
- Avoid Overmixing: Overmixing can incorporate too much air, resulting in a less dense fudge. Mix just until combined.
- Chill Thoroughly: Ensure the fudge is completely chilled before cutting to prevent it from crumbling.
Nutritional Values and Benefits of Cheesecake Fudge
While Cheesecake Fudge is undeniably indulgent, understanding its nutritional profile can help you enjoy it mindfully. A typical serving (approximately 1 square of an 8×8 inch pan) will contain approximately:
(Note: These are approximate values and may vary based on specific ingredients used.)
- Calories: 250-300
- Protein: 3-4 grams
- Fat: 15-20 grams
- Carbohydrates: 25-30 grams
Benefits of Ingredients:
- Cream Cheese: A good source of calcium and protein.
- Sweetened Condensed Milk: Provides energy from sugars.
- Chocolate: Rich in antioxidants and can potentially boost mood.
- Butter: Adds flavor and richness, but should be consumed in moderation.
- Graham Crackers (optional): Provides fiber (if whole wheat crackers are used).
Remember to enjoy Cheesecake Fudge as part of a balanced diet. It’s a treat best enjoyed in moderation.
FAQs about Cheesecake Fudge
Can I make this Cheesecake Fudge ahead of time?
What can I use instead of graham cracker crumbs?
How long does Cheesecake Fudge last in the refrigerator?
Can I freeze this Cheesecake Fudge?
Is this Cheesecake Fudge recipe gluten-free?
This Cheesecake Fudge recipe is a guaranteed winner. It’s simple, delicious, and perfect for any occasion. Try it out and let me know what you think in the comments below! Don’t forget to share your culinary creations on social media using #CheesecakeFudge. And for more fantastic dessert recipes, be sure to check out other recipes on our blog, like our ultimate chocolate chip cookies and delicious Basque Cheesecake! For even more inspiration, check out our Pinterest board for delicious desserts here!

Creamy Cheesecake Fudge
Ingredients
Equipment
Method
- In a large bowl, beat the softened cream cheese and sweetened condensed milk together until smooth and creamy using a hand mixer.
- In a separate microwave-safe bowl, combine the chocolate chips and melted butter. Microwave in 30-second intervals, stirring after each, until melted and smooth.
- Pour the melted chocolate mixture into the cream cheese mixture. Stir gently until well combined and the fudge is a uniform color.
- Stir in the vanilla extract.
- Line an 8x8 inch baking pan with parchment paper, leaving an overhang on the sides. Pour the fudge mixture into the prepared pan.
- Optional: Sprinkle graham cracker crumbs evenly over the top.
- Refrigerate for at least 4 hours, or preferably overnight, to firm up.
- Once firm, lift the fudge out of the pan using the parchment paper overhang. Cut into squares and serve.


