Dive into a world of decadent indulgence with this irresistible Oreo Fudge recipe! This no-bake dessert is incredibly easy to make, requiring minimal effort yet delivering maximum flavor. Imagine the perfect blend of creamy, chocolatey goodness infused with the unmistakable crunch of Oreo cookies. This Oreo Fudge is not just a dessert; it’s an experience, a symphony of textures and tastes that will leave you wanting more. Whether you’re a seasoned baker or a kitchen novice, this recipe is your passport to effortless dessert success. It’s the perfect treat for parties, holidays, or simply satisfying a sudden craving for something rich and delicious. Prepare to be amazed by how easily you can create this crowd-pleasing masterpiece, a treat that’s as satisfying as it is simple to prepare. Get ready to impress your friends and family with this unbelievably easy and delicious Oreo Fudge recipe.
Why You’ll Love This Oreo Fudge Recipe
This Oreo Fudge recipe is a game-changer in the dessert world, offering a delightful combination of simplicity and unparalleled deliciousness. There are numerous reasons why this recipe will quickly become a favorite in your kitchen repertoire. First and foremost, it’s incredibly easy. No oven is required, making it perfect for hot summer days or when you simply don’t feel like turning on the oven. The minimal steps involved mean you can whip up a batch in a fraction of the time it takes to bake a more complex dessert. This simplicity doesn’t compromise on taste; in fact, it enhances it. The no-bake method preserves the crispness of the Oreo cookies, creating a wonderful textural contrast against the smooth, creamy fudge. This recipe boasts an incredibly rich and intense chocolate flavor, expertly balanced by the sweetness of the condensed milk and the subtle hint of vanilla. The combination is simply irresistible, providing a delightful indulgence that satisfies any chocolate craving. Moreover, the recipe is incredibly versatile. You can easily customize it to your liking by adding different types of chocolate chips, experimenting with different cookie varieties, or incorporating nuts or other mix-ins. The possibilities are endless!
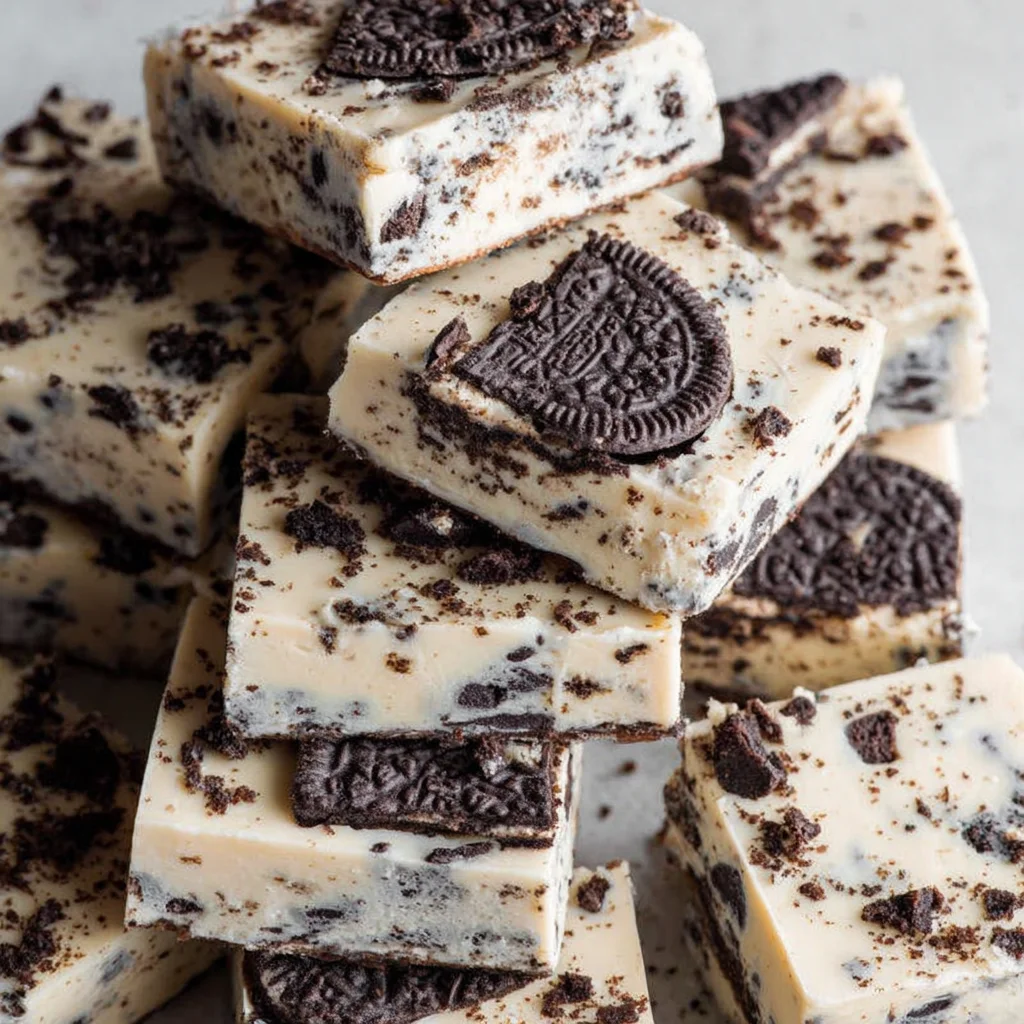
Beyond the ease and flavor, this Oreo Fudge recipe is incredibly visually appealing. Its deep, dark brown color is instantly inviting, and the sprinkled Oreo cookie crumbs add a touch of rustic elegance. The fudge’s firm texture makes it easy to cut into neat squares, perfect for serving at parties or gatherings. You can dress it up with a garnish or present it simply, it’s always a showstopper. It’s also incredibly portable, making it ideal for potlucks or taking to a friend’s house. Finally, it’s a budget-friendly dessert, using readily available ingredients that won’t break the bank. So, whether you’re looking for a quick weeknight treat, a show-stopping dessert for a special occasion, or a simple yet elegant addition to your baking repertoire, this Oreo Fudge recipe is the perfect choice. It is a guaranteed crowd-pleaser, consistently receiving rave reviews from everyone who tries it.
Why You Should Try This Oreo Fudge Recipe
Beyond the simple pleasure of enjoying a truly delicious treat, this Oreo Fudge recipe offers several compelling reasons to give it a try. It’s a perfect recipe for beginner bakers, offering a confidence boost in the kitchen without the complexity of traditional baking. The simple steps and straightforward instructions make it accessible to everyone, regardless of their baking experience. This makes it an ideal recipe to share with family and friends, especially children, who can participate in the simple mixing and layering steps. It’s also a great recipe for learning basic cooking techniques like melting chocolate properly and folding ingredients gently, building skills that can be applied to more complex recipes in the future. The recipe’s versatility provides a fantastic opportunity for creativity and experimentation. Feel free to swap out the semi-sweet chocolate chips for dark chocolate, milk chocolate, or even white chocolate, depending on your preference. You could also try incorporating other cookies, nuts, or even dried fruits to create unique flavor combinations. This aspect of the recipe keeps things exciting and allows you to tailor the dessert to your specific taste.
Furthermore, the impressive presentation of this Oreo Fudge makes it a perfect dessert for any occasion. Its rich, dark color and contrasting Oreo cookie crumbs create a visually appealing dessert that’s sure to impress your guests. Whether you’re hosting a party, celebrating a holiday, or simply enjoying a quiet evening at home, this fudge is a beautiful and delicious addition to your dessert spread. The no-bake nature of this recipe is another key advantage, saving you valuable time and energy. It’s a perfect choice for busy weeknights or when you’re short on time but still want to enjoy a delightful dessert. The minimal cleanup involved is also a bonus, adding to its overall convenience. Finally, sharing this recipe with others is a rewarding experience. The joy of creating something delicious and sharing it with loved ones is a truly fulfilling activity. This Oreo Fudge is guaranteed to bring smiles and happy memories to those who try it, making it more than just a dessert – it’s a connection to those you share it with. Try it today, and you won’t regret it!
Ingredients and Necessary Utensils for Oreo Fudge Success
This deceptively simple recipe requires only a few readily available ingredients, ensuring easy accessibility and minimal shopping trips. Let’s delve into the precise quantities and explore the recommended tools for optimal results. Remember, precision is key to achieving that perfect fudge consistency. This section focuses on the detailed ingredient list along with recommended tools, tips, and alternative suggestions to help you achieve the best results. Preparing the necessary ingredients beforehand significantly speeds up the process and allows for a smoother cooking experience. This is particularly useful if you’re preparing the Oreo Fudge for a gathering, party, or special occasion where timing is crucial.
- Oreo Cookies: 1 (14 ounce) package. Ensure you purchase the classic Oreo cookies for the best flavor profile. The cookies must be finely crushed; a food processor is ideal for this task. Reserve about 1/4 cup of the crushed Oreos for topping. Keyword: crushed Oreos
- Sweetened Condensed Milk: 1 (14 ounce) can. This provides the creamy texture and sweetness essential to the fudge. Ensure the can is unopened and free of dents or damage. Keyword: sweetened condensed milk
- Semi-Sweet Chocolate Chips: 1 (12 ounce) package. Semi-sweet chocolate offers a balanced sweetness and chocolate intensity. You can experiment with different types of chocolate chips depending on your preference. Keyword: semi-sweet chocolate chips
- Unsalted Butter: 1/2 cup (1 stick). Use unsalted butter to control the sweetness and saltiness of the fudge. Make sure it’s at room temperature for easier melting. Keyword: unsalted butter
- Vanilla Extract: 1 teaspoon. Pure vanilla extract will provide a richer flavor compared to imitation vanilla. Keyword: vanilla extract
- Crushed Oreos (Reserved): 1/4 cup. These are reserved from the initial crushing of the Oreos and are used as a delightful topping. Keyword: Oreo topping
Utensils:
- 8×8 inch baking pan: This is the standard size for this recipe. Ensure it’s clean and dry before lining it with parchment paper. Keyword: baking pan
- Parchment paper: Use parchment paper to line the baking pan, making it easier to remove the fudge once it’s set. Leave an overhang on the sides to lift the fudge out. Keyword: parchment paper
- Medium saucepan: Use a medium saucepan to melt the chocolate chips and butter over low heat. A non-stick saucepan is preferred for easy cleaning. Keyword: saucepan
- Spatula or wooden spoon: These are essential for stirring the melted chocolate and incorporating the other ingredients. Use a heat-resistant spatula. Keyword: spatula
- Food processor (optional but recommended): A food processor makes crushing the Oreos much faster and more efficient than crushing by hand. Keyword: food processor
- Measuring cups and spoons: Ensure accurate measurements for optimal results. Keyword: measuring tools
Detailed Recipe Steps for Perfect Oreo Fudge
Let’s embark on the straightforward journey of creating this delightful Oreo Fudge. Follow these detailed instructions, and you’ll be rewarded with a delicious dessert that’s sure to impress. Each step is meticulously described to ensure success, even for first-time bakers. Remember to take your time, and enjoy the process!
- Prepare the pan: Begin by lining your 8×8 inch baking pan with parchment paper. **Crucially**, leave a generous overhang on all sides of the pan. This overhang will act as handles, allowing you to easily lift the set fudge out of the pan without any breakage or mess. Keyword: preparing the pan
- Melt the chocolate and butter: In your medium saucepan, combine the semi-sweet chocolate chips and unsalted butter. **Place the saucepan over low heat.** Stir frequently using a spatula or wooden spoon. **Avoid high heat**, as this can scorch the chocolate. Continue stirring until the chocolate and butter are completely melted and form a smooth, consistent mixture. Remove the saucepan from the heat. Keyword: melting chocolate
- Combine ingredients: To the melted chocolate mixture, add the entire can of sweetened condensed milk and the vanilla extract. **Stir thoroughly** until all ingredients are well incorporated and the mixture is smooth and homogenous. This step ensures a uniform flavor and texture throughout the fudge. Keyword: combining ingredients
- Add Oreos: Gently fold in the crushed Oreos. **Be careful not to overmix**, as this can make the fudge dense. A gentle folding motion will distribute the Oreos evenly without affecting the creamy texture of the fudge. Aim for an even distribution of Oreo crumbs throughout the mixture. Keyword: adding Oreos
- Pour and set: Pour the Oreo mixture into your prepared baking pan. **Spread the mixture evenly** using your spatula or spoon to create a smooth, level top. Sprinkle the reserved crushed Oreos over the top for added texture and visual appeal. Keyword: pouring and setting
- Chill: Refrigerate the pan for at least 2 hours, or until the fudge is completely firm. **The longer you chill it, the firmer it will become.** This chilling process allows the fudge to set properly and develop its characteristic creamy texture. Keyword: chilling the fudge
- Cut and serve: Once the fudge is firm, lift it out of the pan using the parchment paper overhang. Cut the fudge into even squares. Serve and enjoy your delicious homemade Oreo Fudge! You can store any leftover fudge in an airtight container in the refrigerator for several days. Keyword: cutting and serving
Tips and Variations for Your Oreo Fudge
This recipe provides a fantastic foundation for customization. Experiment with these suggestions to tailor your Oreo Fudge to your tastes and preferences. Don’t be afraid to get creative and discover your favorite version! This section provides tips for avoiding common mistakes and suggestions for creating delicious variations. Mastering these simple techniques will enhance your overall baking skills and allow you to create truly unique and satisfying desserts.
- Chocolate Variations: Try using dark chocolate chips for a more intense chocolate flavor, milk chocolate chips for a sweeter treat, or even white chocolate chips for a unique twist. You can also blend different types of chocolate chips for a more complex flavor profile.
- Cookie Alternatives: While Oreos are classic, feel free to experiment with other cookies like chocolate sandwich cookies, graham crackers, or even crushed pretzels for a salty-sweet combination.
- Add-ins: Consider adding chopped nuts (pecans, walnuts, or almonds), dried cranberries, or even a pinch of sea salt for an extra dimension of flavor and texture.
- Vegan Option: Substitute the butter with vegan butter and the sweetened condensed milk with a vegan alternative. Ensure you use vegan chocolate chips as well.
- Gluten-Free Option: Use gluten-free Oreo cookies or a gluten-free cookie alternative. Make sure all other ingredients are also gluten-free.
- Avoiding Common Mistakes: Ensure the chocolate and butter are completely melted and smooth before adding other ingredients. Avoid high heat when melting chocolate. Don’t overmix the batter, as this can make the fudge dense. Chill the fudge completely before cutting and serving.
Nutritional Values and Benefits of Oreo Fudge
While Oreo Fudge is undeniably a treat, it’s beneficial to understand its nutritional profile. This section provides estimated nutritional information and highlights the benefits of the key ingredients used. Remember that the precise values will vary slightly depending on the specific brands used. This section also serves as a resource to make informed dietary choices. Knowing the nutritional facts helps balance indulgence with a healthy lifestyle.
(Note: Nutritional information is an estimate and can vary depending on the specific brands and ingredients used. It is recommended to use a nutrition calculator for a more precise analysis.)
Estimated Nutritional Information (per serving, assuming 16 servings):
- Calories: Approximately 250-300
- Protein: Approximately 2-3g
- Fat: Approximately 15-18g
- Carbohydrates: Approximately 30-35g
Ingredient Benefits:
- Chocolate: Contains antioxidants and may improve brain function. Dark chocolate, in particular, offers higher concentrations of antioxidants.
- Milk (from Condensed Milk): A source of calcium and protein, important for strong bones and muscles.
- Butter: Provides fat-soluble vitamins and adds richness to the fudge.
- Oreo Cookies: While not a primary source of nutrients, they add a delightful crunch and familiar flavor to the fudge.
It’s important to enjoy this treat in moderation as part of a balanced diet.
FAQs
How long does Oreo Fudge last in the refrigerator?
Can I freeze Oreo Fudge?
What are some substitutions for sweetened condensed milk in Oreo Fudge?
Is this Oreo Fudge recipe gluten-free?
Can I make this Oreo Fudge ahead of time?
Conclusion
This Oreo Fudge recipe is a true testament to the beauty of simplicity. It’s a delightful dessert that requires minimal effort but delivers maximum flavor and satisfaction. The creamy texture, intense chocolate flavor, and satisfying crunch of the Oreos create a symphony of taste and texture that will leave you craving more. Whether you are a seasoned baker or a kitchen novice, this recipe is sure to become a staple in your dessert repertoire. It’s perfect for parties, holidays, or simply satisfying a sudden craving for something rich and delicious. So, gather your ingredients, follow the instructions, and prepare to be amazed by the effortless creation of this irresistible treat. Remember to share your experience and pictures on social media using #OreoFudge.
Don’t forget to leave a comment below sharing your experience making this Oreo Fudge! Did you try any of the variations? What was your favorite part? And most importantly, share this recipe with your friends and family so they can enjoy this delightful dessert too! For more delicious recipes, check out our collection of amazing dessert recipes on our website. Happy baking!
Decadent Oreo Fudge
Ingredients
Equipment
Method
- Line an 8x8 inch baking pan with parchment paper, leaving an overhang on the sides for easy removal.
- Crush Oreo cookies finely. Reserve about 1/4 cup for topping.
- In a medium saucepan over low heat, combine chocolate chips and butter. Stir frequently until completely melted and smooth.
- Remove from heat and stir in sweetened condensed milk and vanilla extract until well combined.
- Gently fold in the crushed Oreos until evenly distributed throughout the mixture.
- Pour the mixture into the prepared baking pan and spread evenly. Sprinkle the reserved crushed Oreos over the top.
- Refrigerate for at least 2 hours, or until firm.
- Lift the fudge out of the pan using the parchment paper overhang. Cut into squares and serve.